Our homes reflect our personality, a space where we express ourselves freely. As a major component of our living spaces, furniture plays a crucial role in setting the tone. Furniture is integral to any living space, serving both aesthetic and functional purposes.
Traditionally, acquiring new pieces to refresh a room has been the standard approach. However, a growing consciousness about sustainability and resource conservation has shifted the focus towards more eco-friendly alternatives.
Upcycling furniture emerges as a compelling solution, blending environmental responsibility and creative expression.
Upcycling extends the lifespan of products and reduces waste by transforming unwanted or discarded furniture into new and functional pieces. This process not only contributes to a greener planet but also provides an opportunity for individuals to showcase their creativity and personalize their living spaces.
Wooden furniture, in particular, lends itself well to upcycling due to its durability and versatility. With a keen eye and a touch of imagination, discarded items can be transformed into unique and stylish additions to any home.
This blog will delve into furniture upcycling, exploring various techniques, inspiration, and practical tips to help you embark on your own upcycling journey.
The art of upcycling furniture
Upcycling furniture involves the transformation of discarded or unwanted furniture pieces into functional and aesthetically pleasing items. This process embodies a harmonious blend of sustainability and creativity.
By repurposing furniture, individuals contribute to waste reduction while simultaneously producing unique and personalized pieces that enhance their living spaces.
Upcycling gives old, worn furniture, often sourced from charity shops or thrift stores, a new lease on life. This practice not only diverts items from landfills but also offers a cost-effective approach to interior design.
By breathing new life into repurposed furniture, individuals can create distinctive and characterful pieces that reflect their style.
The positives of upcycled furniture
One of the most significant advantages of upcycling furniture is the opportunity to showcase creativity. It allows you to experiment with different styles, colors, and textures, resulting in one-of-a-kind pieces that perfectly complement one taste.
Moreover, upcycled furniture offers a unique charm and character that mass-produced items simply can’t match. It’s a testament to your resourcefulness and ability to transform something ordinary into extraordinary.
Let’s explore some inspiring furniture upcycling ideas to spark your imagination.
Transforming Cabinets into Mini Bars

One of the most popular and rewarding upcycling projects involves converting an old cabinet into a functional and stylish mini bar. This transformation repurposes an often-overlooked furniture piece and creates a focal point for entertaining.
Converting an old cabinet into a minibar is a rewarding upcycling project that can add style and functionality to your home. Here’s a step-by-step guide to help you transform your cabinet:
Materials Needed:
Cabinet
Wine racks
Mirror
Paint (desired color)
Sandpaper
Primer
Wood filler (if necessary)
Hardware (hinges, handles)
Drill
Screwdriver
Level
Steps:
Prepare the Cabinet
Clean the cabinet thoroughly to remove dirt and grime. Sand the surface to ensure proper paint adhesion. If there are any dents or scratches, fill them with wood filler and sand smooth once dried.
Remove Existing Shelves
Carefully remove the existing shelves from the cabinet.
Install Wine Racks
Determine the best placement for your wine racks and attach them securely to the cabinet’s interior.
Add a Mirror
Choose a mirror that complements the size and style of your cabinet. Attach it to the back wall of the cabinet for a glamorous touch.
Paint the Cabinet
Select a paint color that suits your desired aesthetic. Apply a primer coat before applying the chosen color for a longer-lasting finish.
Install Hardware
Replace old hinges and handles with new ones to give the cabinet a fresh look.
Organize Your Bar
Stock your minibar with your favorite liquor, glassware, and bar tools.
Adding a mirror to the back of the cabinet can create an illusion of depth and add a touch of glamour. A fresh coat of paint in a bold color can give the piece a modern look, while distressing techniques can achieve a vintage aesthetic.
This upcycling project demonstrates the potential of transforming a simple cabinet into a captivating and functional element of home decor.
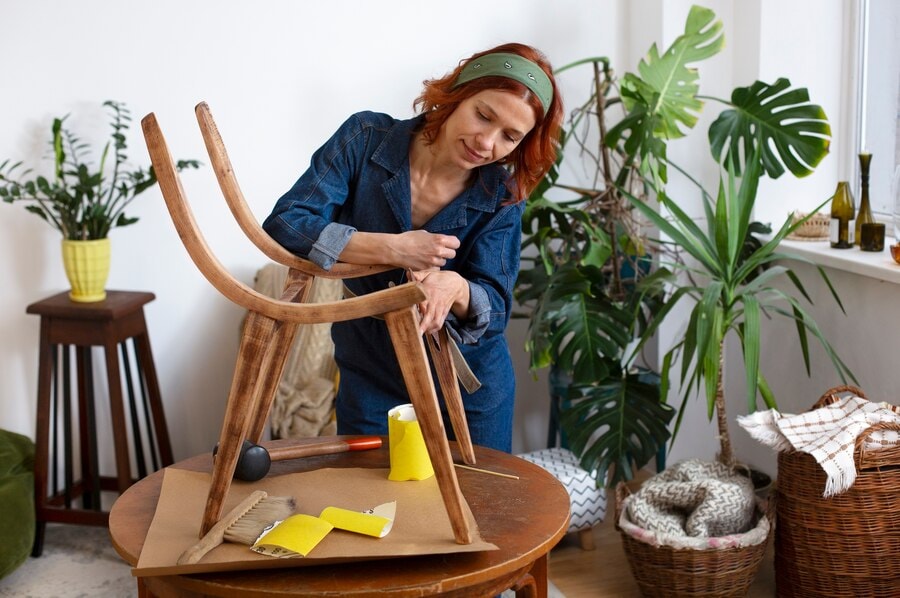
Enhancing Furniture with Details
Revitalizing old furniture often requires more than just a fresh coat of paint. Adding intricate details can transform a piece from ordinary to extraordinary.
Techniques such as incorporating fringes, tassels, or nailhead trim can instantly elevate the aesthetic appeal of a chair or sofa. Applying chalk paint can also breathe new life into worn furniture, providing a versatile base for further customization.
Upcycling an Upholstered Chair
To illustrate this concept, let’s focus on enhancing an upholstered armchair.
Materials Needed:
Upholstery fabric (matching or contrasting)
Fringe or tassel trim
Nailhead trim (optional)
Staple gun
Fabric glue
Chalk paint (desired color)
Paintbrush
Sandpaper
Clear wax or sealant
Steps:
Prepare the Chair
Remove the old fabric and cushions. Clean the chair frame and sand it lightly for better paint adhesion.
Apply Chalk Paint
Choose a chalk paint color that complements your desired style. Apply two coats of paint, allowing each coat to dry completely.
Add Details
Use fabric glue to attach fringe or tassel trim to the chair’s edges. Consider adding nailhead trim to the chair’s frame for a more luxurious look.
Reupholster (Optional)
Reupholster the chair cushions with a new fabric that complements the chair’s overall design.
Protect the Finish
Apply a clear wax or sealant to protect the chalk paint and enhance its durability.
Repurposing Tables into Kitchen Islands
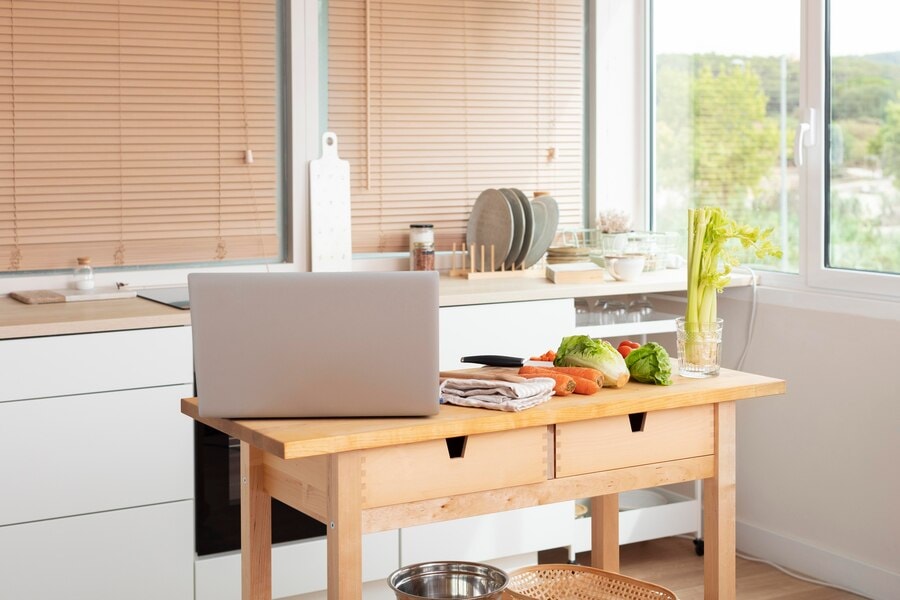
If you have a sturdy dining table that’s no longer in use, consider converting it into a practical kitchen island. Add storage solutions like drawers or shelves, and top it with a butcher block for a functional workspace.
Transforming a sturdy dining table into a practical kitchen island is an excellent way to maximize space and add functionality to your kitchen. This upcycling project combines form and function, creating a centerpiece for your culinary activities.
Materials Needed:
Sturdy dining table
Butcher block (desired size)
Wood screws
Drawer slides
Drawer boxes
Wood for shelves (if desired)
Paint or stain (optional)
Sandpaper
Wood glue
Clamps
Drill
Saw
Step-by-Step Guide:
Prepare the Table
Clean the table thoroughly and sand the surface to ensure proper adhesion for paint or stain (if desired).
Add Storage
Decide on the desired storage options. You can install drawers, shelves, or a combination of both. Attach drawer slides to the interior of the table and install drawer boxes. Cut wood to size for shelves and attach them securely to the table frame.
Attach the Butcher Block
Measure and cut the butcher block to fit the desired size of your kitchen island. Secure it to the top of the table using wood screws and wood glue. Clamp the pieces together while the glue dries for a strong bond.
Finish (Optional)
If desired, paint or stain the table and butcher block to match your kitchen decor. Seal the finished surfaces with a protective coat.
Additional Tips:
Consider adding casters to the legs for mobility.
Install power outlets and USB charging ports for added convenience.
Incorporate a breakfast bar overhang for casual dining.
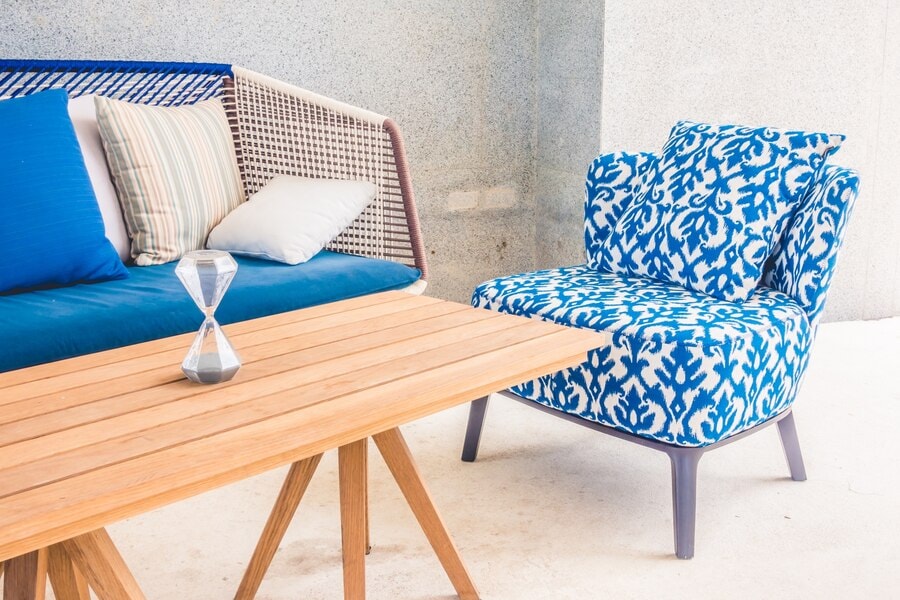
Turning Ottomans into Coffee Tables
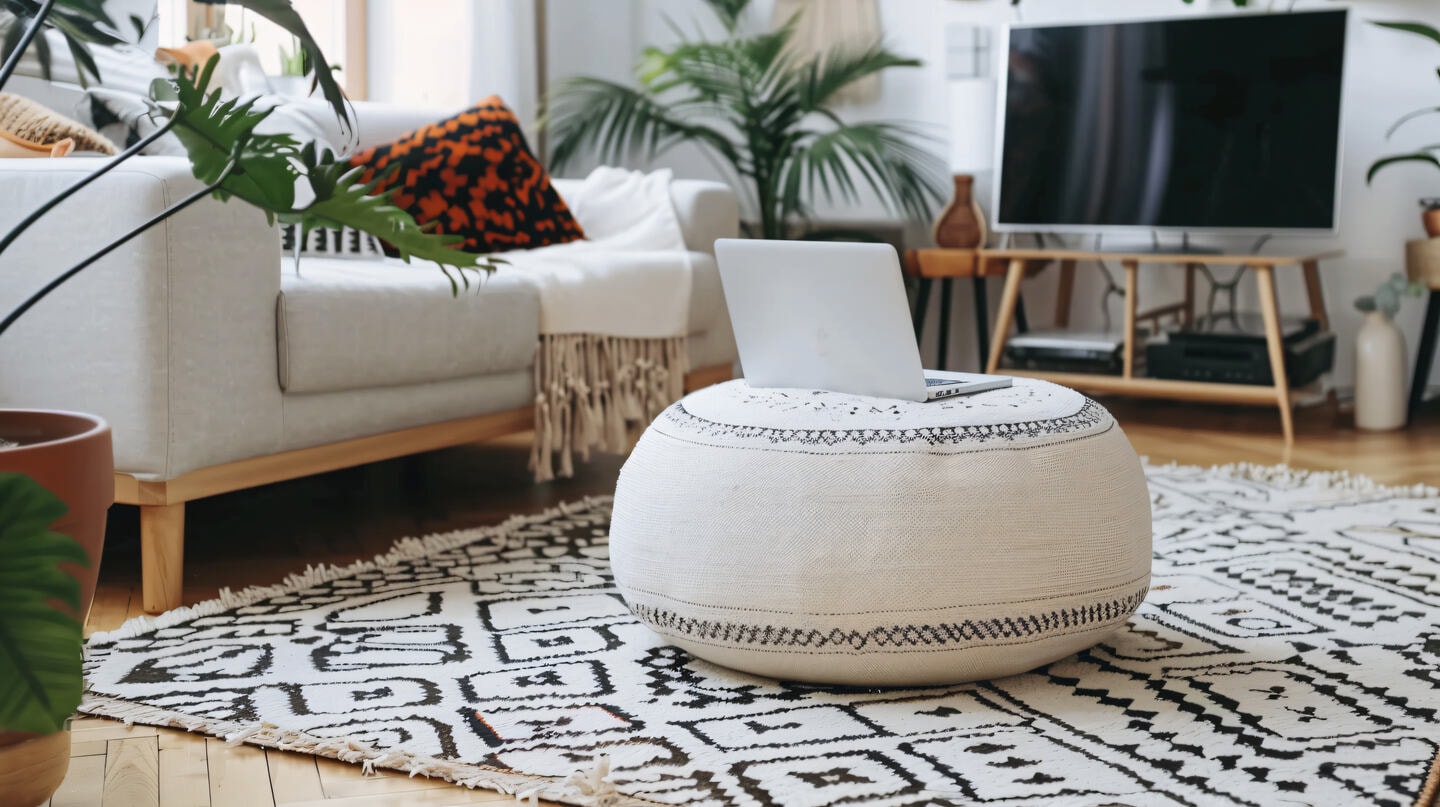
A small ottoman can easily be transformed into a stylish coffee table. Simply add a glass or wooden top to create a versatile piece that also doubles as extra seating.
Transforming a small ottoman into a coffee table is a simple yet effective way to add versatility to your living space. This allows you to create a multi-functional piece with extra seating and a stylish surface for drinks and decor.
Materials Needed:
Ottoman
Glass or wood for the tabletop
Wood screws or adhesive
Measuring tape
Pencil
Saw (for wood tabletop)
Drill (for wood tabletop)
Step-by-Step Guide:
Measure the Ottoman
Accurately measure the top of the ottoman to determine the tabletop size you’ll need.
Choose Your Top Material
Decide whether you prefer a glass or wooden tabletop. Glass offers a sleek, modern look, while wood provides a warmer, natural feel.
Prepare the Top
If using wood, cut it to the desired size and shape. Sand the edges for safety and a smooth finish.
Attach the Top
For a glass top, use a strong adhesive designed for glass-to-fabric bonding. For a wood top, secure it to the ottoman using wood screws or glue, ensuring it’s firmly attached.
Finish (Optional)
You can stain or paint the wood tabletop to match your decor.
Additional Tips:
Consider adding felt pads to the bottom of the glass or wooden top to protect the ottoman’s surface.
Upholster the ottoman with a high-quality fabric for a more luxurious look before adding the tabletop.
If using a glass top, ensure it’s tempered for safety.
Repurposing Cribs into Sofas or Seating

Old cribs can be repurposed into various seating options. The headboard can be transformed into a sofa backrest, while the sides can create cozy armrests. Upholster it with your favorite fabric for a comfortable andstylish piece.
Materials Needed:
Old crib
Foam for cushions
Fabric of your choice
Staple gun
Wood screws
Drill
Saw (if necessary)
Wood (for additional support, if needed)
Upholstery batting
Cushion covers (optional)
Step-by-Step Guide:
Disassemble the Crib
Carefully disassemble the crib, removing any hardware and slats. For this project, you’ll primarily use the headboard and side rails.
Prepare the Frame
Clean the crib components and sand them for a smooth finish. If necessary, reinforce the frame with additional wood pieces using wood screws and a drill.
Create the Base
Decide on the desired seating depth and height. You might need to add wood supports to create a cushion base. Secure these supports to the crib frame using wood screws.
Add Cushions
Cut foam to the desired size for the seat and back cushions. Cover the foam with upholstery batting for added comfort.
Upholster
Drape your chosen fabric over the foam and secure it to the crib frame using a staple gun. For a finished look, consider adding piping or trim.
Assemble the Seating
Attach the upholstered seat and back cushions to the crib frame. You may need to create additional armrest support using the crib’s side rails.
Additional Tips:
Consider adding storage compartments to the sofa’s base using the crib’s drawers or creating additional storage spaces.
Add throw pillows and blankets to the sofa for a more luxurious look.
You can create a larger sofa or a loveseat if you have multiple cribs.
Repurposing Old Doors
Often discarded during home renovations, old doors possess unique character and potential for transformation. With a bit of creativity, these forgotten items can be repurposed into stunning and functional pieces for your home.
Creating a Headboard from an Old Door

One of the most popular and visually striking ways to repurpose an old door is by transforming it into a headboard. The door’s size and sturdy construction make it an ideal base for a headboard.
Materials Needed:
Old door
Wood stain or paint
Sandpaper
Clear coat
Hardware (hinges, brackets)
Drill
Screwdriver
Level
Steps:
Prepare the Door
Clean the door thoroughly and remove any hardware. Sand the surface for a smooth finish.
Apply Finish
Choose a stain or paint color that complements your bedroom decor. Apply multiple coats for a rich finish. Seal the door with a clear coat for protection.
Attach to Bed
Determine the desired height for the headboard and attach it to the wall using hinges or brackets. Ensure the headboard is securely fastened for safety.
Customization Ideas:
Add upholstered panels to the headboard for a softer look.
Incorporate lighting by installing LED strips or small sconces.
Distress the door for a rustic or vintage aesthetic.
Upcycling Picture Frames into Trays
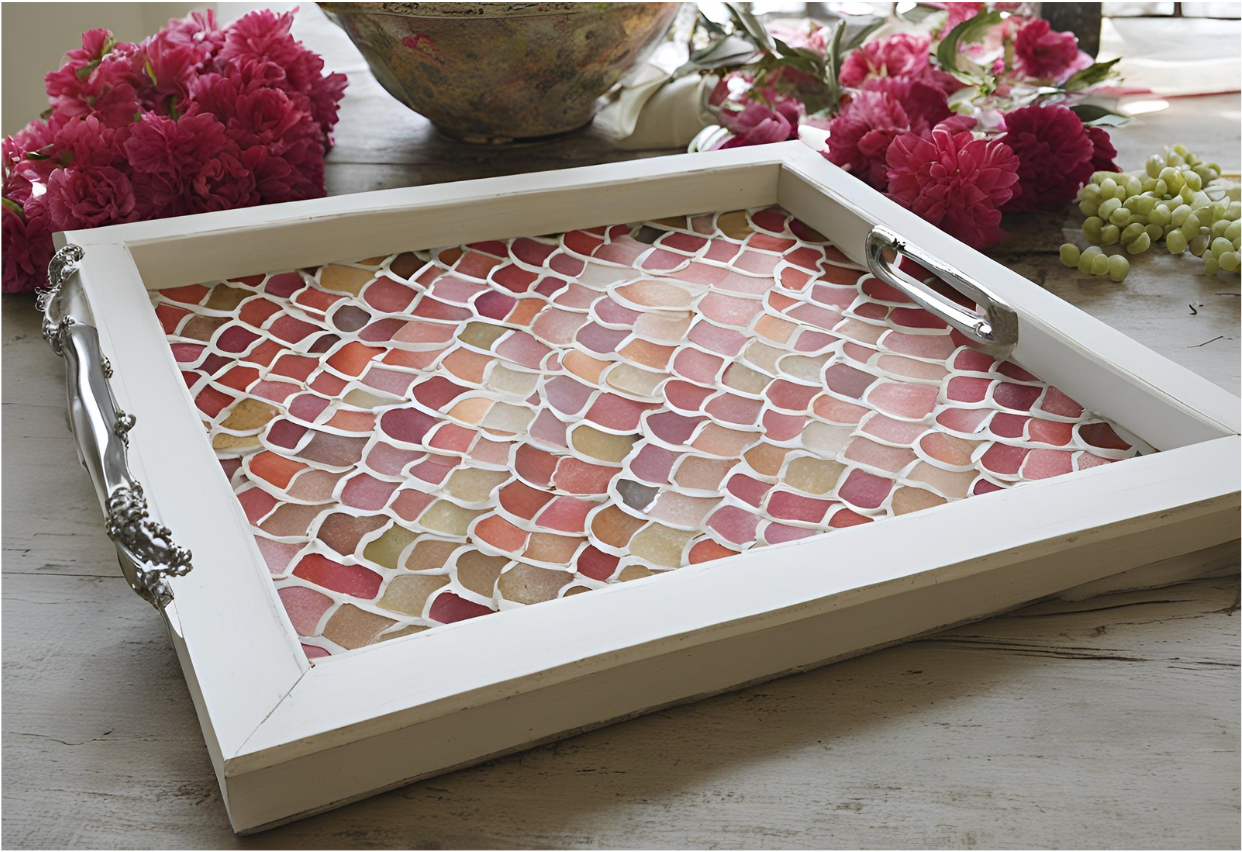
Transforming an old picture frame into a functional tray is a quick and easy upcycling project. This versatile piece can be used for serving drinks, displaying decorative items, or organizing small belongings.
Materials Needed:
Old picture frame
Wood or MDF board (slightly smaller than the frame)
Fabric or decorative paper (optional)
Staple gun (if using fabric)
Adhesive (if using paper)
Handles (optional)
Screws or nails (optional)
Step-by-Step Guide:
Prepare the Frame
Remove the glass and backing from the picture frame. Clean the frame thoroughly. If desired, paint or stain the frame for a fresh look.
Create the Tray Base
Cut a piece of wood or MDF board slightly smaller than the inside dimensions of the frame. This will be the base of your tray.
Cover the Base (Optional)
If desired, cover the wood or MDF board with fabric or decorative paper. Secure the fabric with a staple gun or use adhesive for paper.
Attach the Base
Place the covered board into the frame. You can secure it with a few small nails or wood glue, but it’s often stable enough without additional fastening.
Add Handles (Optional)
For a more convenient tray, attach handles to the sides of the frame. You can use decorative handles or repurpose items like old spoons or drawer pulls.
Customization Ideas:
Use different fabrics or papers to create various styles.
Add a layer of foam to the base for a padded tray.
Decorate the frame with paint, decoupage, or stenciling.
Selling Your Upcycled Creations
Once you’ve transformed ordinary items into extraordinary pieces, you might consider selling your upcycled treasures. Platforms like Facebook Marketplace offer a vast audience for unique, handmade items.
Sourcing materials from thrift stores can be a cost-effective way to create your upcycled pieces, which can be highlighted in your product descriptions to appeal to environmentally conscious buyers.
High-quality photos that showcase the item’s character are essential for attracting potential customers. For those interested in a more curated market, explore local craft fairs or online marketplaces, or even by dropping some on a thrift store specializing in handmade goods.
Beyond monetary gain, selling your upcycled items can be a rewarding experience. It’s a chance to share your creativity with others and inspire them to embark on their own upcycling journeys. By giving your creations a new home, you contribute to the circular economy and promote sustainable living.
Do not be afraid to show your personality
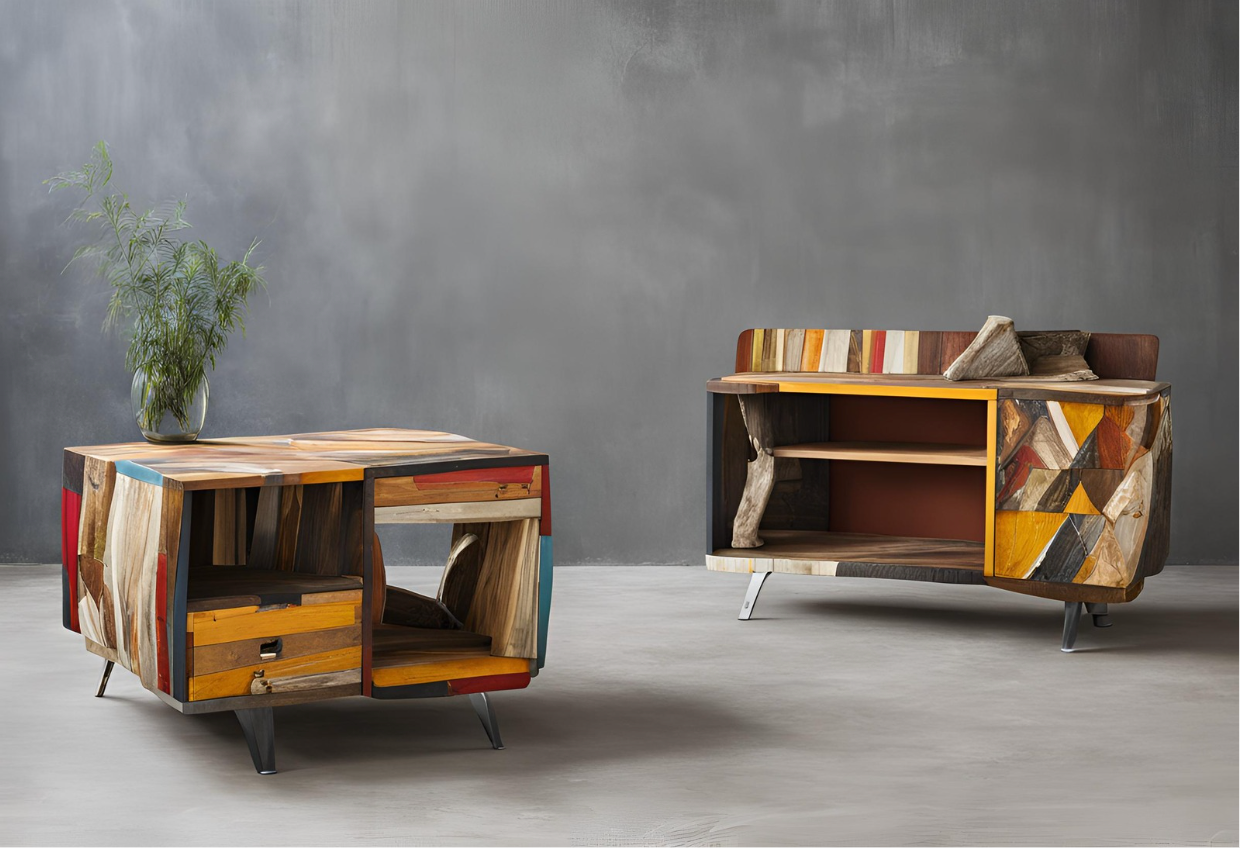
The possibilities for upcycling are truly endless, limited only by your imagination. From transforming an old dresser into a stylish TV stand to repurposing a vintage ladder into a unique bookshelf, the potential for creating one-of-a-kind pieces is vast.
By breathing new life into unwanted items, you not only save money but also contribute significantly to a more sustainable future.
Moreover, upcycling empowers you to express your personal style and create a home that truly reflects your individuality. Each upcycled piece tells a story, adding character and warmth to your living space. Think about the satisfaction of transforming a forgotten piece of furniture into a cherished focal point.
So, the next time you’re drawn to a piece at a yard sale, flea market, or even in your own home that seems past its prime, consider the possibilities of upcycling.
With a little creativity and DIY spirit, you can turn something ordinary into extraordinary. Remember, every piece, from chairs to desks, holds the potential to become a stunning addition to your home.
Upcycling isn’t just about saving money; it’s about creating a more sustainable lifestyle. By giving new life to old items, you’re reducing waste and contributing to a circular economy.
It’s a win-win situation for both your wallet and the planet. So, why not embark on your upcycling journey today? You might be surprised at the incredible transformations you can achieve.
Let your creativity soar and discover the joy of bringing new life to old things. Happy upcycling!

Celebrate Life’s Milestones in Camella!
Make unforgettable memories in a Camella home.
Our communities are designed to elevate your living experience.